1단계: 만들어 보세요.
프로젝트 소개
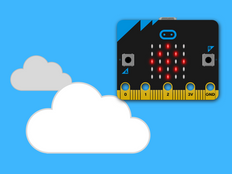
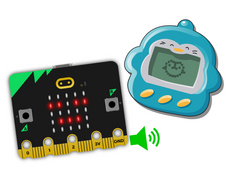
움직임에 따라 빛과 소리로 반응하는 센서 토이를 만들어보세요.
소개
프로그래밍 가이드
학습 내용
- How to use the micro:bit's built-in accelerometer sensor inputs and expressive sounds as outputs to create a toy that could help learners who respond well to stimulation through touch, light and sound. 움직이는 방식에 따라서, 여러 가지 다른 소리와 그림을 출력할 수 있습니다.
설명
- 내장되어있는 가속도 센서를 이용해서 micro:bit 에 가해지는 힘을 측정합니다.
- 가속도 센서를 통해 측정되는 값을 기준으로, micro:bit 를 움직이는 방향에 따라서 다르게 실행시키는 이벤트를 발생시킵니다.
- micro:bit 를 흔들면, 스피커를 통해 키득 키득 효과음을 출력하고 LED 화면으로 표정 아이콘을 출력합니다.
- micro:bit 를 왼쪽-오른쪽, 앞-뒤로 기울이거나 로고 방향을 하늘, 땅 방향으로 놓는 방향에 따라서 서로 다른 소리와 아이콘을 출력합니다.
준비물
- V2 micro:bit (or MakeCode simulator)
- MakeCode 또는 Python 편집기
- AAA 배터리 팩 (옵션)
2단계: 프로그래밍 해보세요.
1from microbit import *
2import audio
3
4while True:
5    if accelerometer.was_gesture('shake'):
6        display.show(Image.SURPRISED)
7        audio.play(Sound.GIGGLE)
8    if accelerometer.was_gesture('up'):
9        display.show(Image.HAPPY)
10        audio.play(Sound.HELLO)
11    if accelerometer.was_gesture('down'):
12        display.show(Image.ASLEEP)
13        audio.play(Sound.YAWN)
14    if accelerometer.was_gesture('left'):
15        display.show(Image.ARROW_W)
16        audio.play(Sound.SLIDE)
17    if accelerometer.was_gesture('right'):
18        display.show(Image.ARROW_E)
19        audio.play(Sound.SOARING)
203단계: 더 좋게 만들어 보세요.
- Add different pictures and sounds when you press button A or B or touch the logo.
- Experiment with different expressive sounds like 'giggle', 'happy' and 'twinkle'.
- 여러 가지 움직임에 따라, 애니메이션이나 직접 그린 그림을 추가해보세요.
- micro:bit 와 배터리를 함께 넣어서, micro:bit 에서 나오는 소리가 더 잘 들리면서, LED 불 빛도 살짝 부드럽게 만들어주는 케이스나 상자를 만들어보세요.
- 선생님이라면, 감각과 지각(Sensory classroom) 수업을 살펴볼 수도 있습니다.
This content is published under a Creative Commons Attribution-ShareAlike 4.0 International (CC BY-SA 4.0) licence.


