Step 1: Make it
What is it?
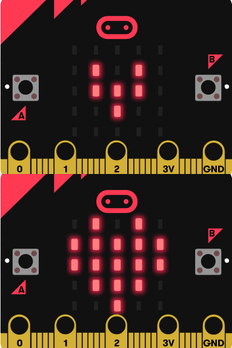
Light up your micro:bit with love by showing a heart.
These two videos show you what you'll make and how to code it:
Introduction
Coding guide
How it works
- This is a great first project to learn how to program your micro:bit!
- When the program is transferred (flashed) to your micro:bit, the processor steps through the instructions you gave it.
- The program shows a heart picture on the micro:bit’s LED display output.
- The heart stays on the display as long as it has power because you haven’t given it any further instructions to show anything else.
- The micro:bit has a set of other built-in images you can use in your projects.
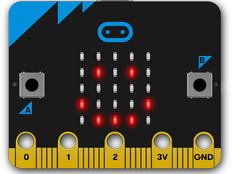
- Pictures on computers, phones and tablet screens are made using dots called ‘pixels’. The micro:bit’s display has 25 LED pixels arranged in a 5 x 5 grid.
What you need
- micro:bit (or MakeCode simulator)
- MakeCode or Python editor
- USB cable if using a computer
- battery pack (if using a phone or tablet).
Step 2: Code it
Step 3: Improve it
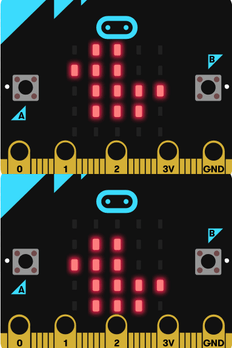
- Try choosing other built-in pictures like HAPPY, DUCK or GHOST.
- Can you show more than one image?
- See if you can make your own pictures by exploring the other projects below.
This content is published under a Creative Commons Attribution-ShareAlike 4.0 International (CC BY-SA 4.0) licence.


