Step 1: Make it
What is it?
Make a simple timer using the new micro:bit's touch logo sensor.
Introduction
Coding guide
What you'll learn
- How to use the new micro:bit's touch logo sensor to trigger different events when you touch it and when you let go
- How to use variables, mathematical operators and a system clock to measure time
- How to convert units (milliseconds to seconds) using mathematical operators
How it works
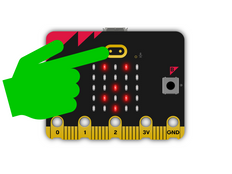
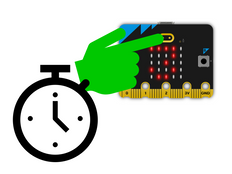
- The program times how long in you hold your finger down on the gold logo on the new micro:bit
- The micro:bit measures how long it's been switched on in milliseconds (thousands of a second). This is called the running time.
- The 'on logo touched' block senses when you first touch the logo. It shows a heart on the LED display and sets a variable called start to capture the current running time.
- The 'on logo released' block senses when you let go of the logo. The code then subtracts the start time from the new running time. The difference between the running time when you let go and the time when you touched it is the total time you held your finger on the logo. This is stored in a variable called time.
- The code then converts the time from milliseconds to seconds by dividing it by 1000 and shows it on the LED display.
- 'On logo touched' only triggers when you first put your finger on the logo, unlike the 'on logo pressed' block used in the Touch emotion badge project, which behaves like the A and B button and only triggers when you press and let go of the button.
What you need
- new micro:bit with sound (or MakeCode simulator)
- MakeCode editor
- battery pack (optional)
Step 2: Code it
Step 3: Improve it
- Modify the program so a different icon or your own picture appears when you touch the logo.
- Add a variable to track the maximum time recorded.
- Make the timer more accurate by using fractions of numbers instead of integers (whole numbers).
This content is published under a Creative Commons Attribution-ShareAlike 4.0 International (CC BY-SA 4.0) licence.


