第 1 步:制作
它是什么?
使用您的micro:bit和两条鳄鱼夹线来探究材料的导电性——轻松完成一个简单的科学实验!
如何使用
- 将下面的代码上传到您的micro:bit,或者跟随视频自己完成代码的编写。
- micro:bit的底部有五个大的触点。 当您将1号引脚和GND地线引脚用鳄鱼夹线连接起来,就形成了电流通路
- 安全须知不要将GND和3V引脚直接连接起来,否则可能损坏您的micro:bit
- 当您将两根鳄鱼夹导线分别连接到引脚1和接地引脚(GND)后,您可以在两根导线的末端之间放置如锡箔纸或保鲜膜等材料,以测试这些材料是导体还是绝缘体。
工作原理
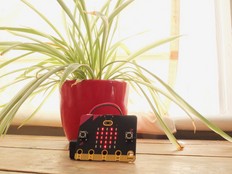
- 这个项目使用到了编程上的选择结构。 如果(if)(因为测试材料是导体而)形成了一个电路,那么micro:bit会在它的LED显示器上显示一个心型并播放一个中央do。
- 否则(else),如果没有形成电路,micro:bit将清除其LED显示屏且不会播放音符——micro:bit实际上以以0Hz的频率播放音符。
- 这个程序使用了一个永远或者叫无限循环来一直测试是否有回路形成,除非您断开micro:bit的电源。
所需材料
- micro:bit(或MakeCode上的模拟器)
- MakeCode编辑器
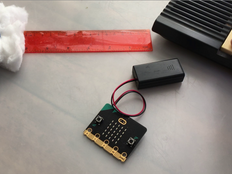
- 电池组(推荐,可选)
- 我们的引脚介绍视频或许能帮到您
您可能会喜欢
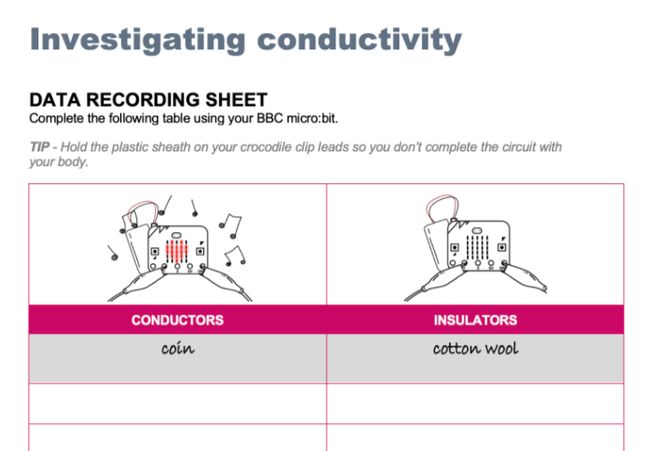
下面的是导电性测试仪记录表,可以在课堂或兴趣班中用来记录哪些材料导电哪些不导电。

第 2 步:编程
第3步:完善
- 调整代码,当材料是导电的,让micro:bit显示不同的图标或播放不同的声音。
- 尝试使用您的导电性测试仪测试更多种类的材料,如铅笔芯(石墨)、橡皮泥、干的纸巾和湿的纸巾。
- 把人体当作测试材料也很有趣! 简单的做法是一个人两只手分别握住两个鳄鱼夹线,或者复杂一点,几个人左手牵右手组成一个链条,让两端的人分别握住两个鳄鱼夹线。


